Woodworking
From Log to Bowl: Drying and Turning Birch Wood for Beginners
Birch is one of the friendliest woods a new turner can pick up. It is pale, close-grained and cuts cleanly, and if you live anywhere near a stand of it you can often get a log for free after a storm or a neighbor's tree removal. It is also an impatient wood. Birch moves a great deal as it dries, stains if it sits wet too long, and cracks with real enthusiasm when it is in a hurry. Handle it well and you get a bowl that seems to glow. Handle it badly and you get firewood. Here is the whole path, from a log on the driveway to a finished bowl.
Choosing a Log Worth the Effort
Not every birch log deserves a bowl. Paper birch, the one with peeling white bark, is the most common in northern yards, and it also decays fastest — sometimes within a year of hitting the ground. Yellow birch is denser and holds up better. Either can make a good bowl, but only if it is reasonably fresh.
Walk around the log and look for these signs:
- Bark that is still tight and firm, not slipping off in wet sheets
- No soft spots, punk, or sponge-textured wood under the bark
- Pale end grain with only small checks, not deep radial cracks
- No blue-black staining or dark streaks running along the pith, which usually means the log sat too long
- A diameter at least three inches wider than the bowl you want, with no large knots where a wall will be
Trees cut in late fall or winter tend to stay sound longer, so a winter-cut log is a better bet than one felled in midsummer. Whatever the season, get the log off the ground. Birch in contact with damp soil goes soft quickly, and no amount of careful drying will bring it back. If a log has been lying in the sun for weeks, cut a foot off each end and look again — the ends dry first and crack first.
Breaking Down the Log Into Blanks
You want blanks, not random chunks. Cut sections a little longer than the bowl diameter you have in mind, then deal with the pith. The pith is the soft center of the log and it is where nearly every crack begins, so split it out rather than turning it into your bowl.
With a chainsaw, cut the section to length, then rip it through the center to make two half-logs. Each half becomes a bowl blank, with the rim along the bark side and the base near what was the outside of the tree. If the blank is too big for your lathe's swing, trim the corners on a bandsaw to make a rough disc before it ever goes on the lathe. Without a chainsaw, look for a smaller-diameter log, or ask someone with a mill to break it down for you. A froe and a few wedges will split a straight-grained birch log surprisingly well.
Seal the End Grain Before Anything Else
This is the single most useful habit in the whole process. End grain loses moisture far faster than the long grain on the sides of a log, so the ends shrink first. That difference is what tears a log apart. Sealing slows the ends down and lets the whole piece dry closer to evenly.
Good options, roughly in order of effectiveness:
- A commercial wax emulsion made for sealing green wood — the easiest to apply and the most reliable
- Melted paraffin or canning wax, brushed on thick
- Beeswax, if you already have it
- Two or three coats of old latex paint, which is the weakest option but better than nothing
Apply one coat and let it soak in, then a second to build a film. After that, store blanks off the concrete floor, out of direct sun and moving air, stacked with thin strips between them so air can move. Do not wrap a whole log airtight — the sides need to breathe, even if the ends do not. If the wood is very fresh, some turners tuck blanks into a pile of damp shavings for the first few weeks to slow that first rush of drying. It works, as long as you open things up and check for mold.
Two Ways to Dry a Birch Blank
Air-dry whole blanks
Seal, stack, wait. A kitchen scale is your best tool here: weigh each blank every couple of weeks and write the number on the bark. When the weight stops dropping, the blank has come into balance with your shop and is ready to turn. Whole blanks take months, and the wait is dull, but the process is nearly foolproof if the wood was sound to begin with.
Rough-turn it green
This is the better route for beginners, and it is more rewarding. Turn the bowl while the wood is still wet, but leave the walls thick — a common rule of thumb is roughly one inch of wall for every ten inches of diameter. Do not finish it. Coat the whole rough bowl in sealer or wax, drop it into a paper bag with its own shavings, and set it somewhere cool and out of the airflow. Check it weekly, weigh it, and wait for the scale to go quiet. Weeks later, remount it and take it to final thickness. Expect it to have gone oval; you will true up the rim and the foot before you cut anything else.
Turning the Bowl
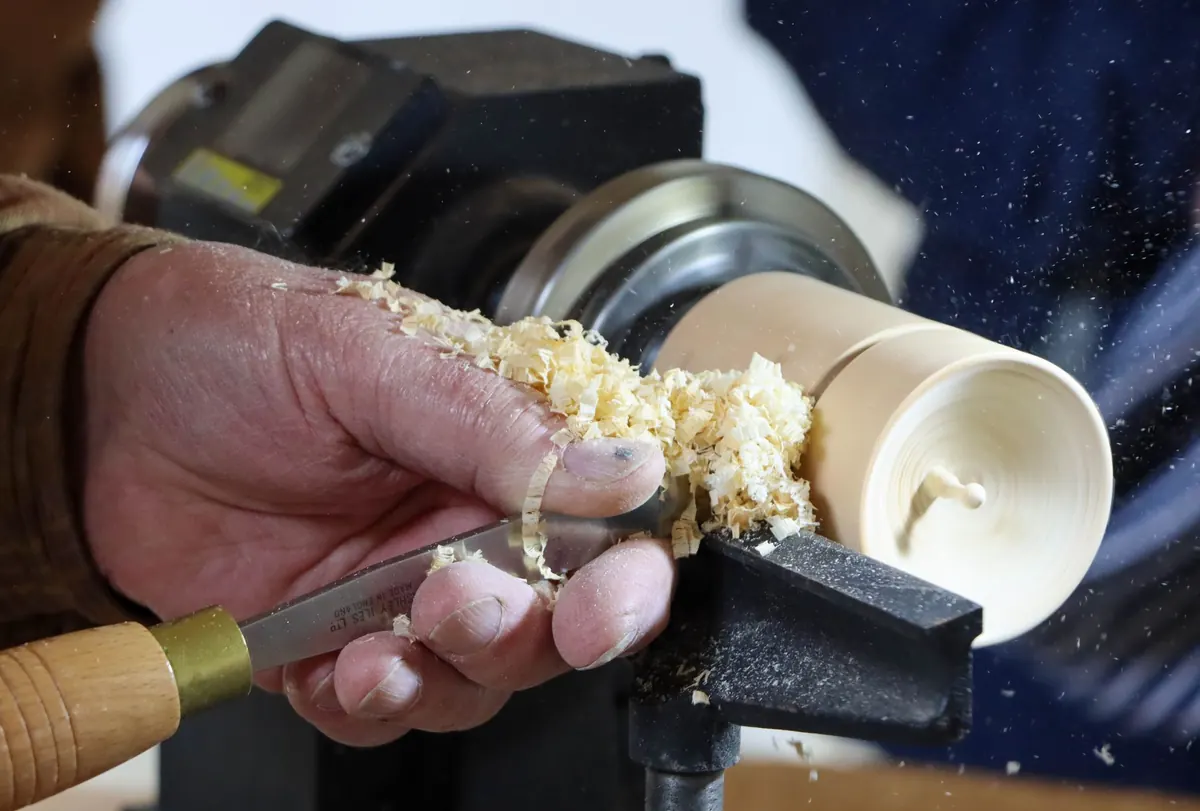
Once the blank is dry, the actual turning goes quickly. The sequence is the same whether you are working with an air-dried half-log or a re-mounted rough-out.
- Mount the blank between centers and true up one face.
- Cut a tenon or a recess for your chuck, sized to fit it properly rather than approximately.
- Shape the outside first, working from the foot toward the rim.
- Flip the blank, grip it by the tenon, and hollow the inside in stages, stopping often to check wall thickness with your fingers.
- Sand through the grits, cleaning the surface between each one.
Birch is forgiving of a sharp tool and unforgiving of a dull one. Touch up your gouge every few minutes rather than pushing through a dull cut. A face shield is not optional, and neither is decent dust protection — birch sanding dust is fine and plentiful, and you will make a lot of it. No gloves, sleeves rolled, and keep the lathe speed modest until the blank is balanced.
Finishing a Pale Wood
Birch takes an oil finish beautifully but can go blotchy if you flood it, so apply thin coats and wipe off the excess. For a bowl that will hold food, use a finish labeled food safe and let it cure fully before use, following the manufacturer's directions. For a decorative piece, a wipe-on polyurethane or a thin shellac gives a clean, hard surface without muddying the color. Keep your hands clean while you work — birch marks easily, and a dirty fingerprint under the finish is permanent.
Start With One Log
Pick a fresh piece, seal the ends the same day you cut it, and rough-turn two or three bowls from that one log rather than saving the wood for a someday project. Birch does not wait well, and you will learn more from three rough-outs than from one precious blank. Expect the first bowl to warp into a pleasing oval and the second to come out thinner and better. That is the whole point. The log was free.
Photo: Marie-Claude Vergne / Pexels